What running an AI image generator at home gets you
Most people meet AI image tools through a website or an app: you type a description, a company's computers draw the picture, and the result comes back to your screen. That is the "cloud" way, because the work happens on someone else's machines. "Local" means the work happens on your own computer instead. You download the software once, and after that it makes images using your own hardware.
The cloud has a price tag you can see. Midjourney, for example, lists a Basic plan at $10 a month with 3.3 hours of fast generation time, a Standard plan at $30, and a Pro plan at $60. ChatGPT's image limits are not a fixed number and can change. Subscriptions renew monthly until you cancel.

Local generation works differently. Stable Diffusion, the best-known model, was released publicly on August 22, 2022, and its code and model files are free to download. Once everything is set up, you are not buying credits or hitting a provider's image quota. You can make a hundred pictures in an evening for the cost of the electricity.
Privacy and control are the other draws. Your prompts and finished images can stay on your own machine, though add-ons that connect to online services may still send data out. You also choose which model to use, and you can swap in different ones for different looks, which most cloud services don't allow.
The trade-offs are real. You need a reasonably capable computer, especially its graphics card, and the next section explains how to check yours. Setup takes some effort: downloading programs, placing files in the right folders, and fixing the occasional error. You also maintain the thing yourself, including updates. And on a weak machine, a single image can take minutes where a cloud service takes seconds.
If your computer is modest and you only want a few pictures a month, a cloud service may be the better deal. If you expect to experiment a lot, or you'd like your work kept private, local is worth the afternoon of setup. The same trade-off for chat assistants is covered in our local vs cloud AI comparison.
What your computer needs to make AI images
The part of your computer that matters most is the graphics card, also called the GPU. Think of it as a workshop with hundreds of small workers who can all paint at once. Your main processor is closer to one very skilled worker, and it draws these images far more slowly.
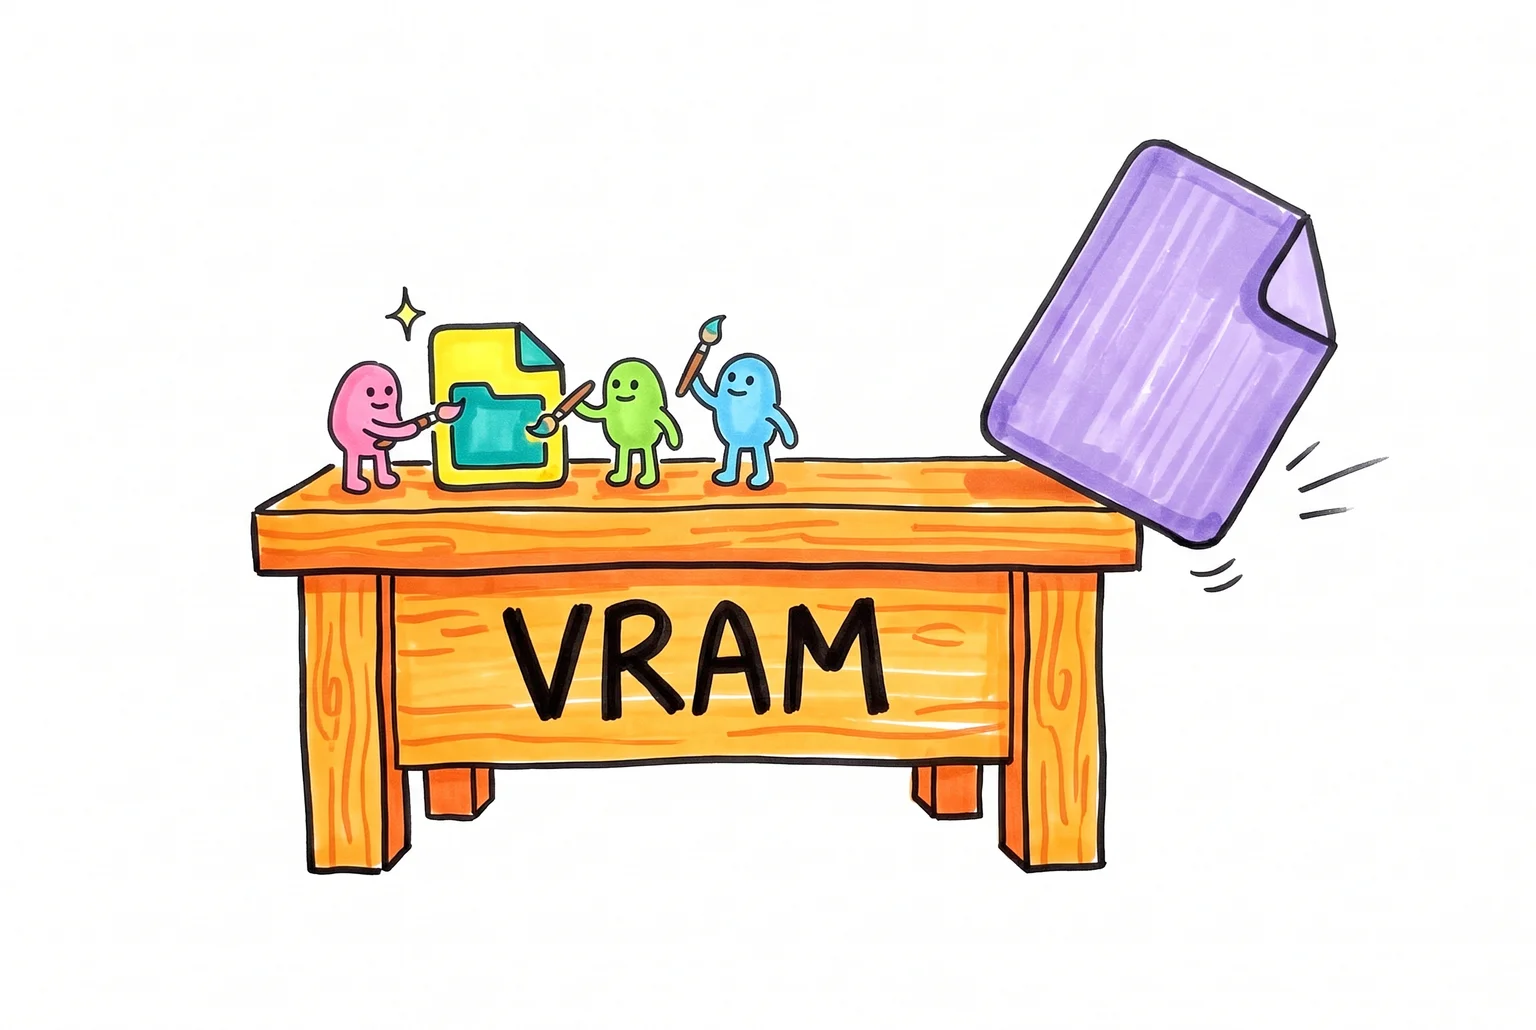
The GPU has its own memory, called VRAM. That is the size of the workbench. A model has to fit on the bench to be used, and a bigger model or a bigger picture needs more room. VRAM is separate from the ordinary memory (RAM) your computer uses for everything else.
The figures below are rough guides, not hard limits. Actual use changes with image size, how many pictures you make at once, and memory-saving modes that many tools offer.
| Level | Graphics card memory (VRAM) | What to expect |
|---|---|---|
| Good | 8 GB or more | SDXL, a popular newer model, runs comfortably. Guides suggest 8 to 12 GB for it. |
| Borderline | 4 to 6 GB | Older Stable Diffusion 1.5 models work, since about 4 GB is the usual floor. SDXL is possible but tight. |
| Probably not | Under 4 GB, or no dedicated graphics card | Expect very slow images or errors. A cloud service is likely easier. |
Even borderline cards have a way in. ComfyUI's documentation says smaller FP8 versions of a model need less VRAM, at the cost of a slight drop in image quality. Your tool may offer a version like this.
Other parts matter less. 16 GB of RAM is a comfortable amount, and the model files are big. The main SDXL file is about 6.94 GB, and each model you add takes similar room. Keep at least 50 GB free so you can collect several. Windows 10 or 11 works well, and Linux also works.
Macs are in better shape than you might expect. Apple Silicon Macs (M1 and newer) share one pool of "unified memory" instead of having separate VRAM, so your total memory is what counts. Draw Things is a free Mac app made for these chips that needs macOS 12.4 or later and sets up its own acceleration. InvokeAI also runs on Apple Silicon, but it needs macOS 14 or later and recommends 16 GB of unified memory. Older Intel Macs are the weak spot.
Checking what you have
On Windows, right-click the taskbar, open Task Manager, click the Performance tab, and choose GPU. It shows your card's name and its dedicated memory. If no GPU tab appears, or the card is listed as "Intel UHD" or similar, you probably have only basic graphics.
On a Mac, click the Apple menu and choose About This Mac to see your chip and memory. For more detail, pick System Report from that window.
Write down the card name, the VRAM or unified memory, and your free disk space. You'll use those numbers when choosing a tool.
The model and the app are two separate things
Every local image generator has two parts, and you download them separately. Think of a game console and its cartridges. The console is the interface, the app you click. The cartridge is the model, a big file that holds everything the software has learned about how to draw. The console does nothing without a cartridge, and one console plays many cartridges. Local chat assistants split the same way, as our guide to running ChatGPT locally explains.

A model file is called a checkpoint. It contains learned numbers, called weights, and it is not an image-generation application on its own. The interface loads those weights, gives you a box for typing a description and some buttons, and runs the generation. The file you will meet most often ends in .safetensors. That format is presented as a safer alternative to older formats that can hide harmful code, so prefer it when you have a choice. Some models arrive as a folder of several smaller files instead of one big one, and your interface will handle either.
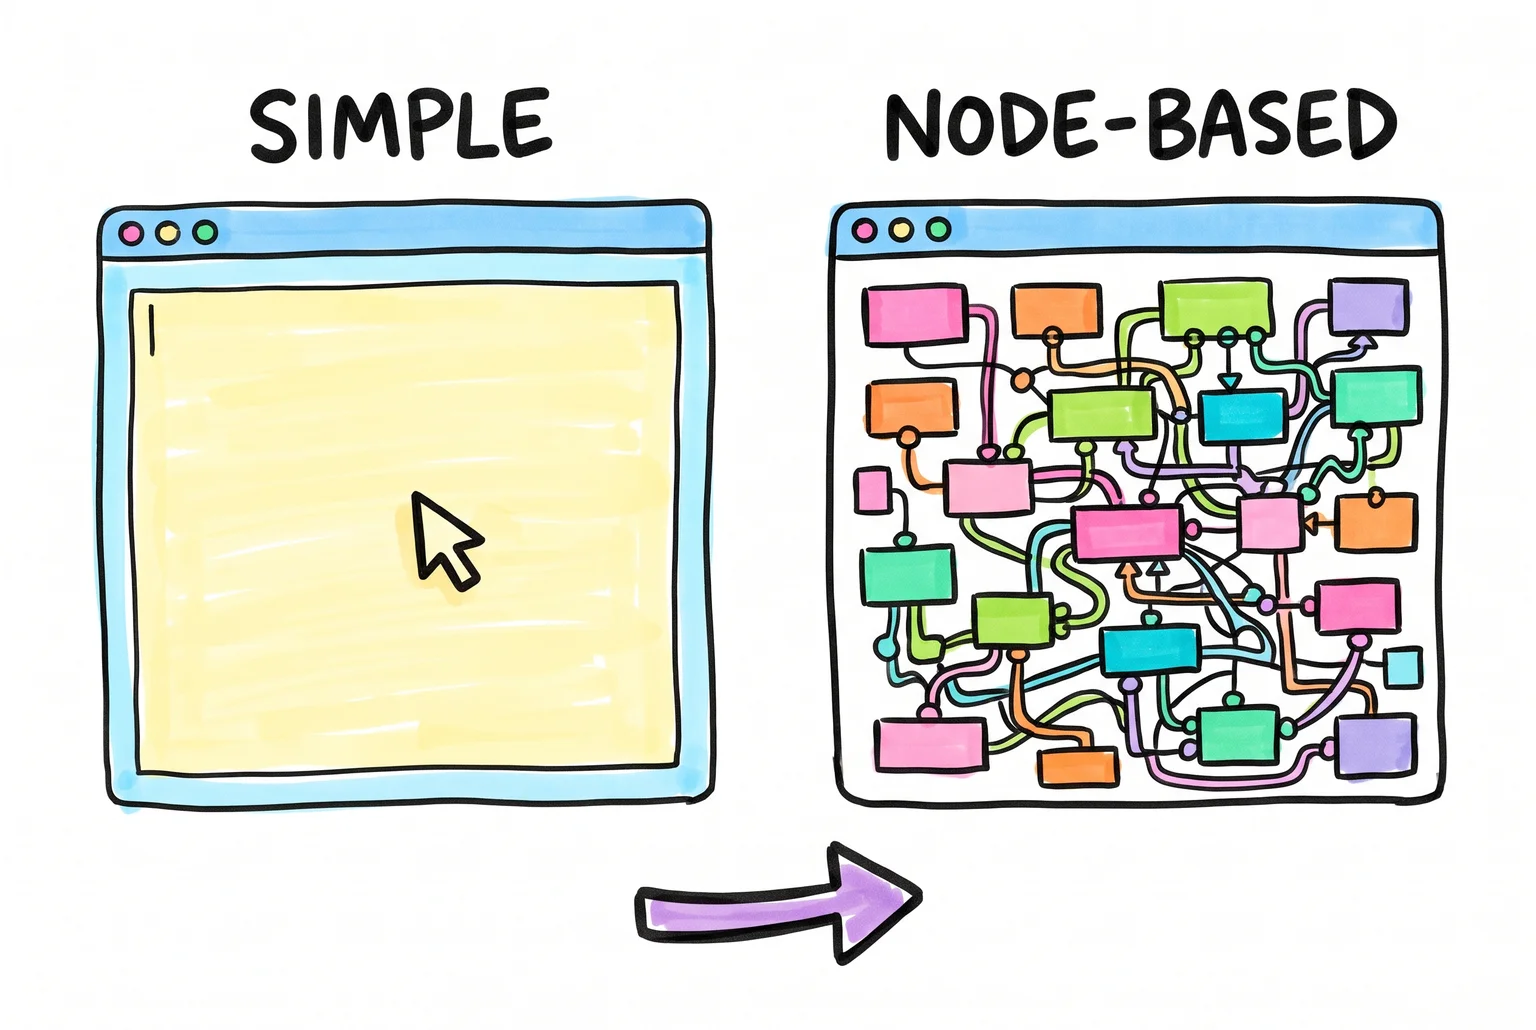
That split explains why there are so many tools. The underlying technology is open, so anyone can build a new console for the same cartridges. Some interfaces hide almost everything behind one text box. Others show every step as a wiring diagram. The next section compares them.
Models come from websites. Hugging Face hosts models for all kinds of machine learning, while Civitai is a community site built around image models and add-ons. On both, each model has a page with notes on intended use, limits, and license. Read that page before you download.
Licenses vary by model. Stable Diffusion XL ships with its own license document, and FLUX.1 [dev] has more restrictive terms for commercial use. The license belongs to the model, not to the interface you load it in. For pictures you only make for yourself, this rarely gets in the way. If you plan to sell your images, check the license first.
Compatibility varies too. Not every interface runs every model, so a tool's documentation lists which ones it supports.
Four tools compared, and the one to start with
Four tools cover most of what beginners run into. All four work with the same kinds of models, so picking one is a matter of how much setup and how much control you want. Details change often, and new front-ends appear every few months, so treat this as a snapshot.
| Tool | Setup | Interface | Flexibility | Best for |
|---|---|---|---|---|
| Fooocus | Download a package, run run.bat on Windows | One prompt box and a few options | Low | Quick results with minimal choices |
| AUTOMATIC1111 | Scripts: webui-user.bat on Windows, webui.sh on Linux | Web page packed with tabs and sliders | High, many add-ons | People following older tutorials |
| ComfyUI | Desktop installer that manages Python for you | Connected boxes, one per step | Highest | Learners who want to see and control every step |
| InvokeAI | Launcher app for Windows, macOS, and Linux | Canvas-style editor with a clean generate panel | Medium to high | Beginners who want to keep growing |
Fooocus is the easiest on Windows. Its documented path is to download the prepackaged file and run run.bat. It lists 8 GB of GPU memory as the minimum for several supported setups, and Nvidia cards older than the GTX 9XX series are unsupported. The tradeoff is that it hides most settings, so you will eventually hit its ceiling.
AUTOMATIC1111 was the standard for a long time, which is why so many guides mention it. Its latest release, v1.10.1, came out on February 9, 2025. The interface is crowded, and the scripts expect you to be comfortable with folders and the occasional error message.
ComfyUI is powerful. You build your own pipeline by wiring boxes together, which is exactly what makes it so flexible, and also why the first week feels steep. The desktop version handles the Python environment and dependencies for you, so installation is easy, and our guide shows how to install ComfyUI step by step. Learning to read the wiring is the slow part. Plenty of people reach it after a few months with another tool and enjoy it.
InvokeAI sits in the middle. Its recommended install method is the Launcher, which installs Python automatically. On a Mac it needs macOS 14 or later and an Apple Silicon chip (M1 or newer), and Intel Macs are not supported, with 16 GB of memory recommended. On Linux it supports NVIDIA GPUs, and AMD only there. Machines without a GPU can run it in CPU-only mode, but generation is slow.
My default pick
Start with InvokeAI. It installs through an app instead of a terminal, runs on all three major systems, and has an interface that looks like a creative program rather than a settings panel. It also leaves room to grow, so you will not need to switch tools after your first week.
Choose Fooocus instead if you are on Windows with a supported Nvidia card and want a picture in the fewest clicks. Come back to ComfyUI once you want to know what each step actually does.
Installing InvokeAI with the Launcher
The Launcher is a small app that installs InvokeAI for you, including the Python software it runs on, and handles later updates. You never open a terminal. Before you start, make sure you have Windows 10 or newer, or a Mac running macOS 14 or newer with an Apple Silicon chip. The minimum for basic images is 8 GB of system RAM and 4 GB of video memory. Keep several gigabytes of disk space free, because the installer and the model files take room.
- Open the Simple Installation page on the InvokeAI site and find the Launcher download for your system.
- On Windows, download the Launcher .exe file. On a Mac, download the .dmg file.
- On Windows, double-click the .exe to run it. On a Mac, open the .dmg and drag the Launcher icon into your Applications folder, then open it from there.
- Wait for the Launcher window to appear. This is the control panel you will use from now on.
- Click Install in the Launcher and follow the prompts. It sets up Python and downloads InvokeAI, which can take a while on a slow connection.
- When the install finishes, click Launch. InvokeAI opens in your web browser, on a page served from your own computer, so it works without any account.

If a security prompt appears on Windows or macOS when you open the Launcher, that is the system asking whether to trust a downloaded program. Approve it only if you downloaded the file from the InvokeAI site.
If something goes wrong
The install stalls or fails partway: close the Launcher, reopen it, and click Install again. Check that your disk has free space first, since a full drive is a common cause.
InvokeAI opens but nothing generates: this usually points to a weak or unsupported graphics card. The software lists NVIDIA 10-series or newer for Windows and Linux, and AMD cards work on Linux only.
You have a card with little video memory: turn on low-VRAM mode. It lets a GPU that cannot hold a whole model still generate images, though each one may take longer.
Alternatives for Mac and weaker machines
All Apple Silicon Macs work with InvokeAI, but 16 GB of memory is recommended, so an 8 GB Mac will feel cramped. If your Mac struggles, Draw Things is a free Mac app built for offline image generation and installs from the App Store.
If you are on Windows with a supported Nvidia card and want the shortest route, Fooocus ships as a package. You download and extract the archive from its releases page, then double-click run.bat.
Getting a starter model and making your first picture
InvokeAI opens with no model installed, so the first job is getting one. Stable Diffusion XL Base 1.0 is a good first pick. It turns text prompts into images and is meant for creative uses like artwork and design, according to its model page. It uses the CreativeML Open RAIL++-M license, so skim the license text if you plan to sell anything you make.
Inside InvokeAI, open the Model Manager from the left-hand menu and look for the starter models list. Pick an SDXL model there and click install. If your menu looks different from what I describe, the current version of the app may have moved things around, but the idea is the same: choose a model, install it, wait for the download. These files are several gigabytes, so expect a wait on a slow connection. When it finishes, the model appears in the model dropdown in the Generate panel.

Write a prompt and press Generate
The prompt box is where you describe what you want. A simple recipe, common in beginner guides, is the subject first, then the style, lighting, framing, and a couple of quality words, separated by commas. Copy this into the prompt box:
a golden retriever sitting in a sunlit meadow, digital painting, soft morning light, close-up portrait, highly detailedLeave every other setting alone. For SDXL, InvokeAI's defaults are 1024×1024 pixels, 30 steps, and a CFG scale of 7, which are fine for now. Click Invoke, the big generate button. A progress indicator runs, then the image appears in the viewer.
On a card like the RTX 3060 12GB, one SDXL image at that size takes roughly 8 seconds. Smaller cards and Macs take longer, and a minute is not unusual.
What to expect from the first result
Your first image may look a bit odd. Paws can have too many toes, an eye might sit slightly off, and the grass may blur into a smear. That is normal, even for good models, and it does not mean your install is broken.
Results change with the model, the seed (a random number behind every image), the resolution, and your wording. Click Invoke again with the same prompt and you will get a different dog each time. Make a few and pick your favorite.
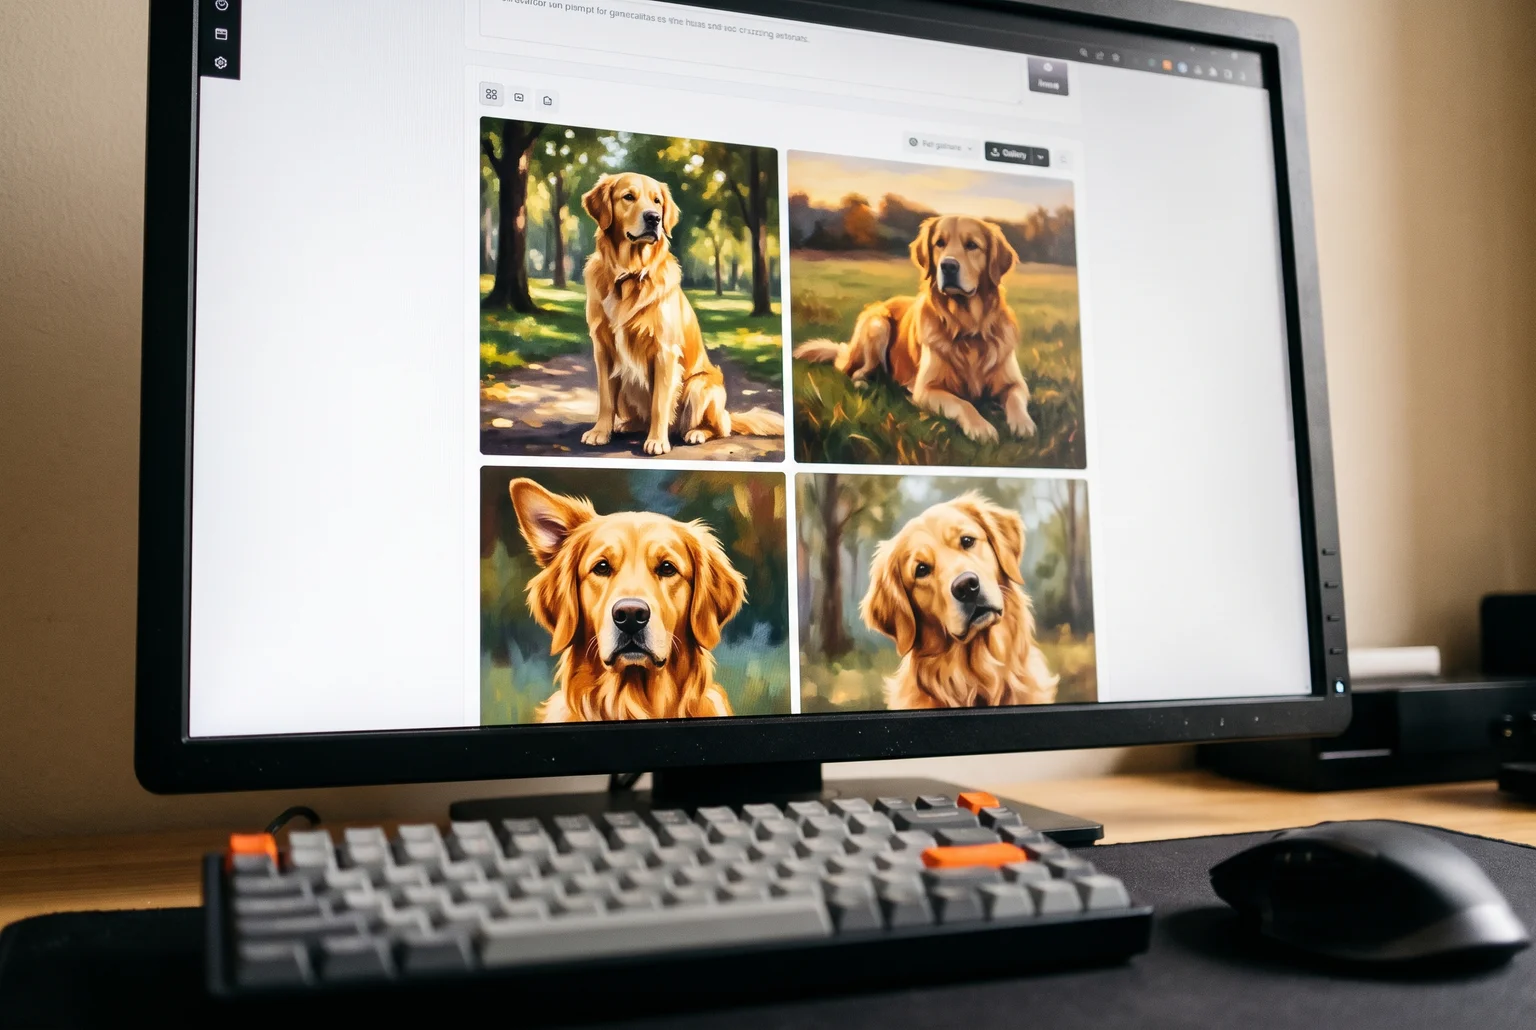
Your images save to the gallery panel on the right side of the screen, so nothing is lost when you try again. The next section covers how to nudge the results toward what you picture in your head.
Five changes that improve your pictures
Change one thing at a time. If you change three settings at once, you won't know which one helped.
1. Add detail to the prompt. Vague prompts get generic pictures. A useful structure runs from subject to setting, style, composition, lighting, and mood.
Before: a dog in a field
After: a golden retriever lying in tall grass at a hilltop, watercolor, wide shot, warm sunset light, calm mood
2. Lock the seed. The seed is the random number behind each image. Keep the same prompt and set a fixed seed, and each tweak you make shows its real effect. Use a random seed while exploring, and write down any seed you like.
3. Try a negative prompt if one problem keeps recurring. This box lists things to avoid, such as blurry, extra fingers, text, watermark. It is optional and guarantees nothing. Some newer models, FLUX among them, prefer positive descriptions instead, so write "sharp focus" rather than "not blurry."
4. Leave steps and CFG near the defaults. More steps take longer and don't always add detail. Stay between 20 and 30. CFG sets how strictly the image follows your prompt, and around 7 works well. Very high values can look harsh and unnatural.
5. Match the image size to the model. SDXL and FLUX-style models work best around 1024×1024. Older Stable Diffusion 1.5 models are built for about 512×512, and going bigger uses more memory and can produce odd artifacts. If you want a larger final picture, there are separate upscaling tools for that.
Fixing common problems and what to do next
"Out of memory" error. Your graphics card ran out of VRAM. Lower the image size and set the batch size (images per click) to 1. The AUTOMATIC1111 troubleshooting page ties 512×512 output to 4 GB cards. Close anything else that uses the GPU, including browsers with hardware acceleration. If it still fails, turn on InvokeAI's low-VRAM mode. If ComfyUI shows Reconnecting instead of an error, see how to fix the ComfyUI Reconnecting error.
Slow generation. Low-VRAM modes work by moving parts of the model back and forth between the GPU and system memory, which costs speed. Turn the mode off if the error goes away without it, and keep sizes modest.
Black or blank images. The usual cause is a numerical glitch when the picture is decoded in half precision. Switching to full-precision decoding or a compatible VAE is the typical remedy.
Unsafe model files. Download from sources you trust, and choose files ending in .safetensors over .ckpt or .bin. The older formats can run code when loaded, and Hugging Face's malware scan does not guarantee a file is safe. ComfyUI custom nodes run Python code on your PC too, so learn to install missing ComfyUI nodes with ComfyUI Manager safely.
Licenses. Every model has its own license, and some limit commercial use. Read it before you sell or publish images.
Where to go next
Stay with InvokeAI and its Launcher install for now. You have already installed an app, downloaded a model, and made a picture, which is the hard part.
Your next step: pick one prompt you liked, lock its seed, and change a single word at a time for ten images.
Related guides
- Can you run ChatGPT locally?: set up gpt-oss-20b with Ollama on a 16GB PC or Mac, and see which models fit your memory.
- Building a local AI server at home: three parts lists with prices, tokens-per-second speeds, safe remote access and yearly power costs.
- Private AI options ranked: from chatbot privacy settings and business plans to running models on your own laptop.
- What uncensored AI really is: how guardrails come off, including on image models, and the legal, privacy and scam risks.
- The best local AI upscaler: enlarge and sharpen the pictures you make, or old photos, with the free Upscayl app.
Sources
- Comparing Midjourney Plans - Midjourney - Midjourney
- Celebrating one year(ish) of Stable Diffusion … and what a year it's been! - Stability AI
- ComfyUI Flux.1 Text-to-Image Workflow Example - ComfyUI - ComfyUI
- SDXL Base 1.0 Checkpoint - Hugging Face / Stability AI
- Draw Things: Offline AI Art App - App Store - Draw Things, Inc.
- Hardware Requirements | InvokeAI Documentation - InvokeAI
- Gather information about a Mac - Apple Support (MN) - Apple
- Models - Hugging Face Hub
- Using Safetensors - Hugging Face Diffusers
- FLUX.1-dev license - Black Forest Labs / Hugging Face
- Fooocus/readme.md at main · lllyasviel/Fooocus · GitHub - GitHub
- Releases · AUTOMATIC1111/stable-diffusion-webui - GitHub - GitHub
- ComfyUI Desktop overview - ComfyUI Docs
- InvokeAI installation - InvokeAI Docs
- Simple Installation - InvokeAI
- Low VRAM Mode - InvokeAI
- Drawthings
- Fooocus Releases - GitHub
- stabilityai/stable-diffusion-xl-base-1.0 · Hugging Face - Stability AI
- Stable Diffusion XL Base 1.0 license - Stability AI / Hugging Face
- Stable Diffusion prompt guide: structure, weights, examples - stablediffusion.fr
- SDXL local models - InvokeAI documentation
- ComfyUI on an RTX 3060 12GB: VRAM Tuning | SpecPicks - SpecPicks
- Weighted prompts - Hugging Face Diffusers
- KSampler - ComfyUI
- Stable Diffusion Prompt Guide - Stable Diffusion Art
- Prompting Guide for FLUX.2 - Black Forest Labs
- CFGGuider - ComfyUI
- SD 1.5 model documentation - Open Laboratory
- Troubleshooting · AUTOMATIC1111/stable-diffusion-webui Wiki · GitHub - GitHub
- [Bug]: OutOfMemoryError: CUDA out of memory · Issue #14714 ... - GitHub
- CUDA out of memory on 12GB VRAM · Issue #302 ... - GitHub - GitHub
- ComfyUI black image fix - Local AI Master
- Security Pickle - Huggingface
- InvokeAI manual installation - InvokeAI